Monday, December 26, 2011

How to make a Hollow Book

Fellow readers stay your angry hands! I promise I would never carve up a good book. All the books I use are from discard at the Library. They have been drawn in my children or generally tore up. A plus of this is you can usually get them at the library sales for around a penny.

This is my first attempt at a Hollow Book, but I wanted to share the steps in case anyone cared to try it them selves.


STEP 1:

Mark off 1/2 an inch from all sides, this will be your guide for where to cut.


STEP 2:

Using a carving set: Which can be found for around ten dollars - like this one on Amazon.com. http://www.amazon.com/SE-Precision-Craft-Carving-Set/dp/B0044GI5R6 Carve away the inside of the book. If an edge breaks (and they will) don't panic. We will be gluing them all together at the end. Holding the page as you are cutting helps keep everything clean. Also, make sure you don't cut into the spine.

The book should look like this when you are carving. There isn't a set depth, but remember you want it deep enough to hide something in it.

STEP 3:

Using Modge Podge and Elmers school glue make a half and half mixture. You will not need much, the little bit in that cup sealed two books and we had some left over. Modge Podge is about 10 dollars for a bottle but trust me - it will last!


Step 4:

(Optional)

If you want to use a piece of scrapbook paper for a backing of the book: Cut out a page just slightly smaller then the pages of book. Gently wedge it on top of the last uncut page. (Like a book mark) You shouldn't have to glue it in as the weight of the pages when sealed should hold it.


Step 5:

Next the sealing process. Taking a paint brush begin to paint the inside of the hollow book. It will drip on your backing page, just smooth it out. It will dry clear. Make sure you are holding it down while you seal to keep everything aligned.


Step 6:

Next seal the exterior.


Step 7

Wrap the front cover and full pages in the front with wax paper to keep the glue from attaching to them. Then place it under a heavy object to keep pages together while it drys. Leave it under the object for about 45 minutes.

(seal it 2 or 3 times and return it to the weight until the pages have the feel of a solid wood block)


Step 8:

Using the same paper as your background cut and glue them to the top cut page as a boarder.


STEP 9:

TA-DA! My first Hollow Book!!!!


Thank you Christina for introducing me to a new form of crafting!
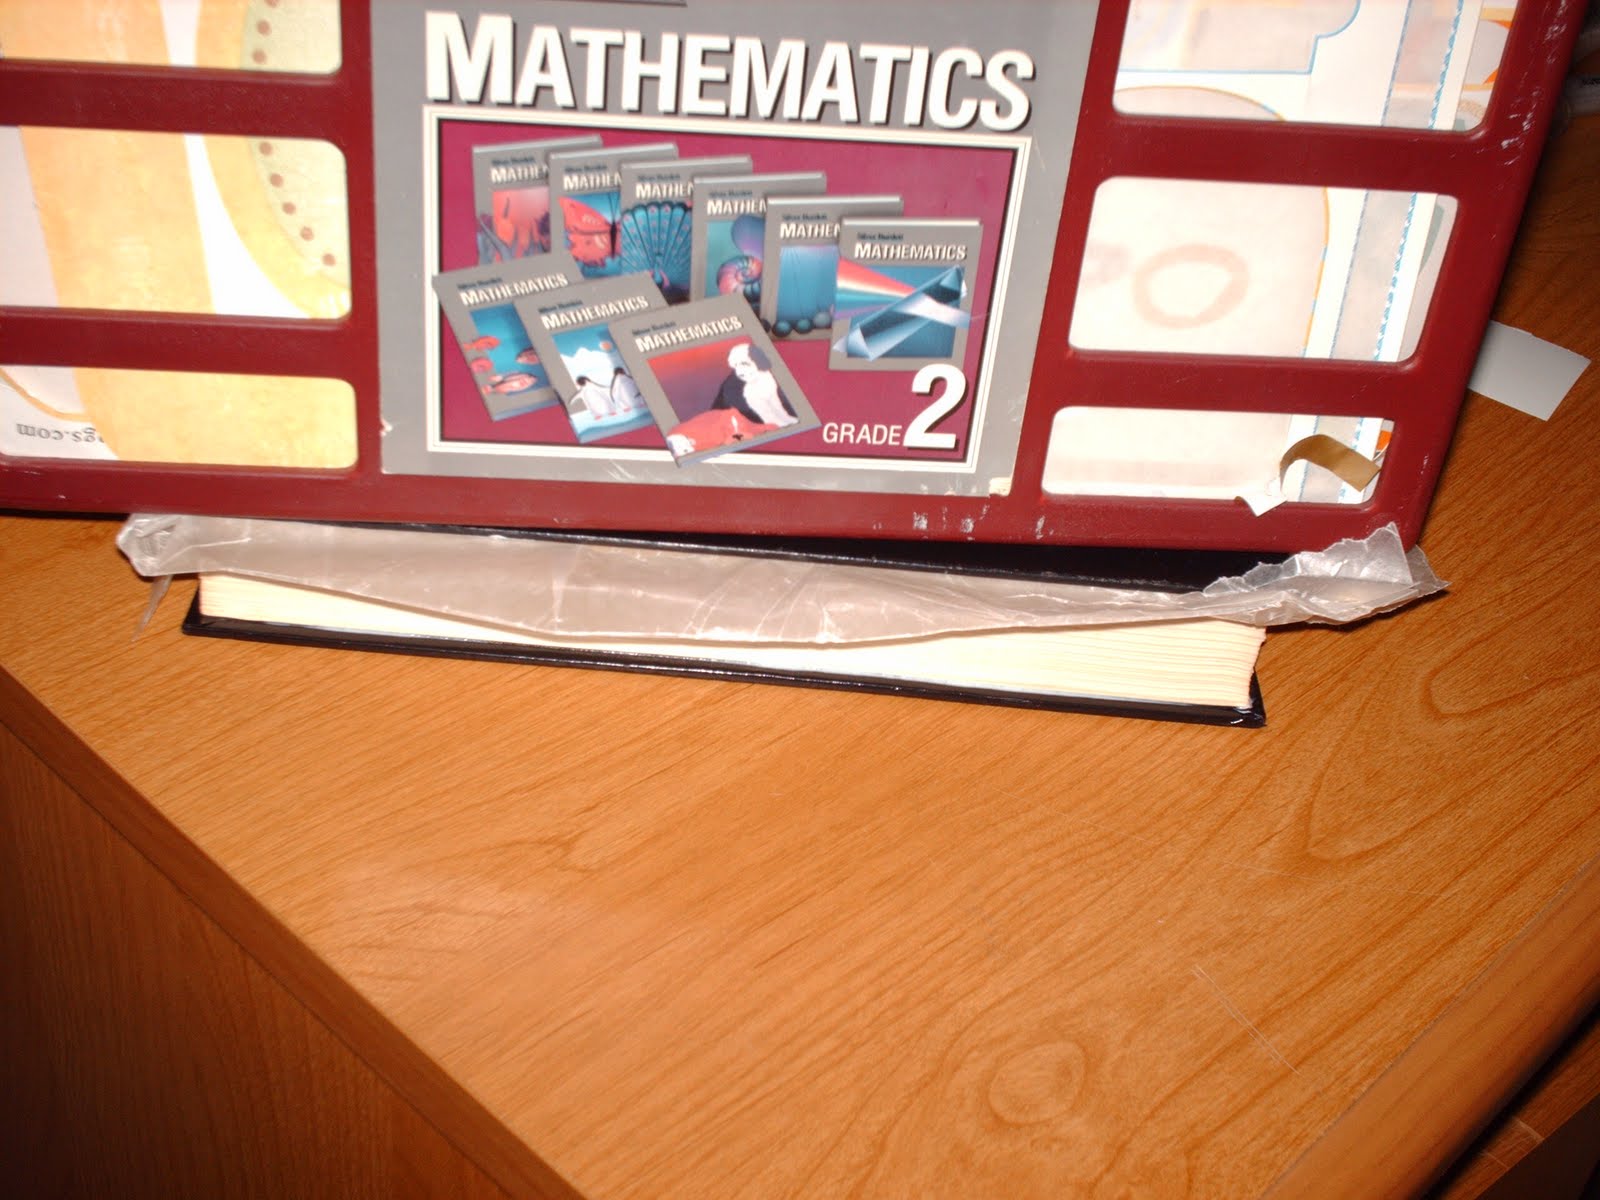


Thursday, November 10, 2011

Crochet...Third times the charm!

When I was young my Mamaw Barringer ways always crocheting blankets and other things. One day I asked her to teach me. Well being a kid, once I learned how to make a chain I was happy. Beacause I could make all kinds of necklaces and ring, and what more does an 8 year old girl need? My Mamaw passed away a few years later so I never finished learning. Years down the road my husbands great grandmother took it upon herself to complete the lesson. I started fooling around with yarn on Oct. 30th.

It started like this...
Then moved to this...


Then today on the 10th, I made this! I am giving this to my cousin's baby for her 2nd birthday. I didn't follow plans or anything but I really think it turned out cute!


Wednesday, November 9, 2011

Fall Center Peice (mat)

Well I have had this sitting in a bag on my craft table for almost a month after getting the idea to make one. I finally got off my tail and put it together. It took two hours! Basic as it sounds all I did was hot glue the silk leaves in an over lapping pattern over a placemat.


Leaf packet $1.00
Leaf packet $1.00
Placemat $1.00
(I already had a glue gun and glue sticks)
Total cost: $3.00


STEP ONE:

STEP TWO IN PROGRESS

STEP THREE - COMPLETE


Tuesday, November 8, 2011

Costume Making for StarKid Show

For thoes of you who have never heard of the StarKid group and some of their awesome shows such as A Very Potter Musical or Starship this may seem random to you. There are two characters called Qurriell and Voldemort. Who are for parody's sake 2 guys in one robe standing back to back. These guys:


No, I couldn't get a better picture. Well. Samantha and I decided to go for broke and attempt to make our own costume on a budget of 10.00 and whatever left over Halloween costumes we still had in the closet. First we took two old cloaks and fixed them together here:


Then as neither of us thought the prospect of sewing ourselves in would be a good idea - we went with velcro...see...hard at work!


Then we sprayed both robes down ( Though Voldy's side more liberally) with Sparkle Spray...as ya do.


End Result?


Myself as Quirrell...


"When I rule the world there will be...SNAKES!" .... "and flowers..."


"Some times I leave dirty laundry around."


. We may work on sleeves and some edging but this is our base.


Well folks, for better or worse...there you have it